Filestream There Was a Problem Signing in Please Try Again Later
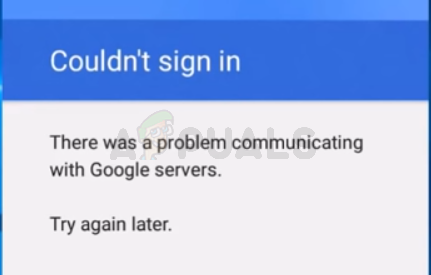
Adding your google business relationship to your Android phone is a peachy way to go emails link various different apps to your Google business relationship. However, a lot of users are seeing the "there was a problem communicating with google servers" mistake when trying to add their Google business relationship to their phones. Some users are seeing this error whenever they click on the Add account from the phone settings whereas others see this message subsequently inbound all of their Google account details. The bottom line is that yous won't be able to add together your Google account to your telephone.
What causes the there was a problem communicating with google servers fault?
Here is the list of things that tin can cause the result.
- two Pace Verification: 2 pace verification is an amazing feature that prevents other users from signing in to your account. This feature is also known to end other devices/apps from using your account. So, this might be causing issues while making a connection using your account. This is also very mutual when adding your business relationship to other apps similar Outlook, these apps won't add your account until you add the apps from your account settings or disable ii Step verification. So, the usual solution for this is to disable 2 Stride verification.
- Corrupted Cache: Temporary/cache files are stored on your device to brand the apps work quicker. These files tin can get corrupted and, therefore, cause other features/apps to misbehave. This error might be caused by this same matter and the usual solution is to just clear the cache of the apps.
- Hosts File: Hosts files are present on your organisation that have some importation prison cell phone configuration information. This trouble can be caused by the content of those files. Irresolute the contents of the Hosts file will most probable resolve the issue in this case.
Note
Before performing the steps given in the methods listed below, first, try to reboot your phone to encounter if that resolves the issue or non. Sometimes there isn't an issue and our devices/software misbehave because of unknown reasons and a restart fixes these type of bug.
You lot should also try to remove the previously added Google accounts from the list of accounts and endeavor over again. All you accept to do is go to Settings > Select Google Business relationship > Click the 3 dots > Remove Account. Do this for all the previously added Google Accounts and add the business relationship once more.
Method 1: Disable 2-Step Authentication and Clear Cache
Sometimes the ii-pace hallmark procedure might be interfering with the sign in of your Google business relationship or it might be the corrupted cache of your Google Account manager (and various other apps). Disabling the 2-Step verification process and clearing the enshroud of some apps accept helped resolve the issue for quite a few users. So, follow the steps given below to perform all of these tasks
Annotation: You can disable the 2-step verification from your phone'south browser as well but we will requite the steps for pc browser. The steps should be the same for both devices though.
- Open your browser and type com in the address bar. Press Enter
- Sign in to your Google account
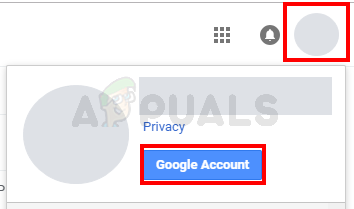
- Click your profile motion-picture show from the summit right corner
- Select Google Account
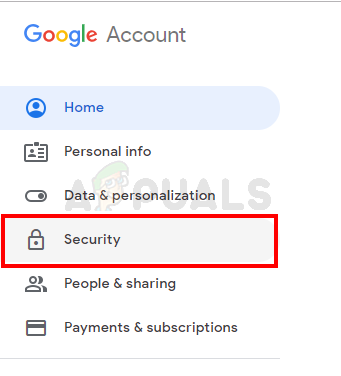
- Select Security
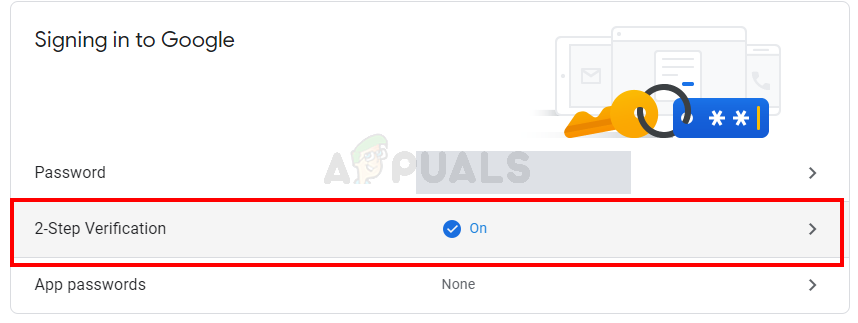
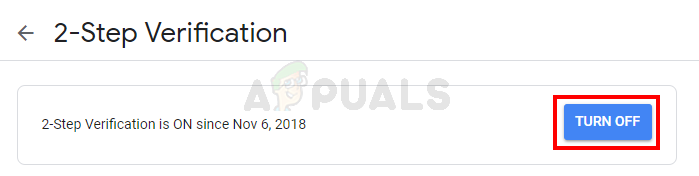
- Scroll down and select the 2-Pace Verification
- Sign in again
- Click Turn off
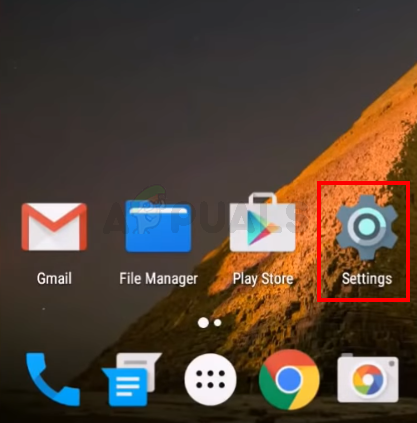
- At present, we will articulate the enshroud of various apps. Go to your Android phone and open Settings

- If you accept your Google account already added to your phone then select Business relationship and remove your Google account from the list. Otherwise, skip this footstep.
- Select Apps (or App Manager)
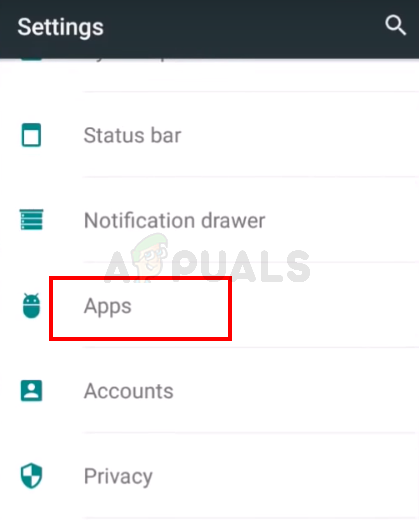
- Locate Google Account Manager from the list of apps. Note: In some phones, you might take to swipe to the right to change the tabs. If that's the case and then make sure you are in the All tab. This is because some phones categorize your apps co-ordinate to their condition e.m. running, sd card, etc. And so, Google Account Director might non show up in the list of running apps if information technology isn't running at the moment. So, y'all demand to look into the list of all apps.

- In one case you lot open the Google Business relationship Manager, select Clear Data
- Select Clear Cache

- Repeat the last 3 steps for Google Play Store, Google Play Services, and Google Services framework. Don't worry if you tin't notice the Google Services Framework, some phones don't have it.
One time done, become back to the master settings page and try to add the account again. Yous should be able to add together your account and employ it without whatsoever problems.
Method 2: Reinstall Google Play Services
Sometimes the issue might be with the Google Play Service app. These services sometimes go corrupted and all you take to practise is reinstall these.
- Get to Settings
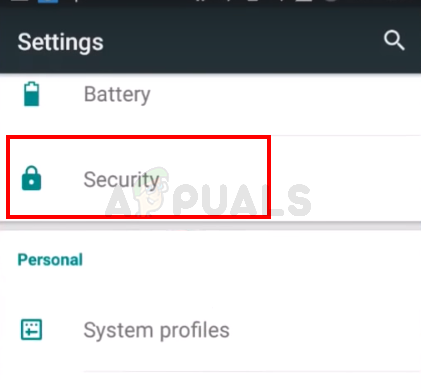
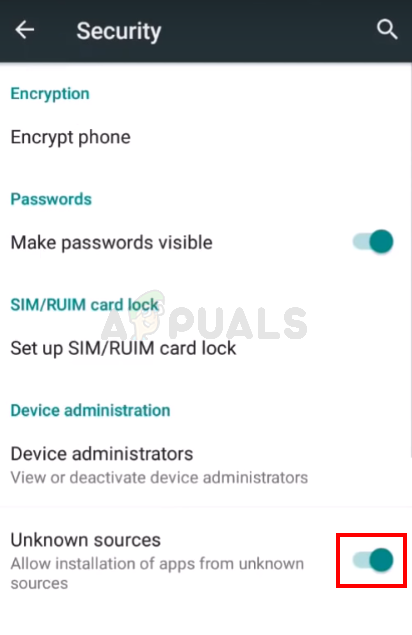
- Select Security
- Toggle on Unknown Sources. This will allow you install applications from unknown sources. Since apkmirror files are considered unknown sources, we need this option enabled if we have to install the downloaded apk from that website.

- Now, open up Google (or any other browser from your phone)
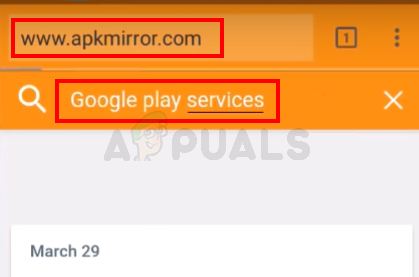
- Type apkmirror. com in the address and press Enter or get
- Click the Search icon and type Google Play services
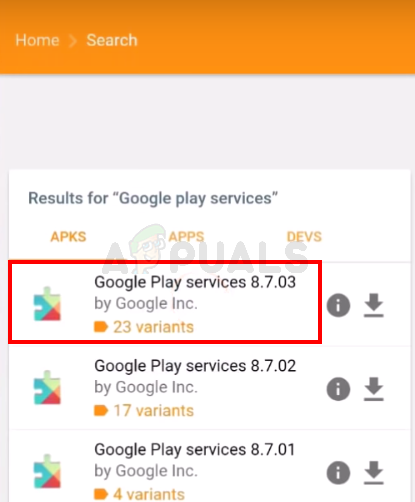
- Click the summit effect from the list of results. The top ones are the latest ones and y'all want the latest version of Google Play Services
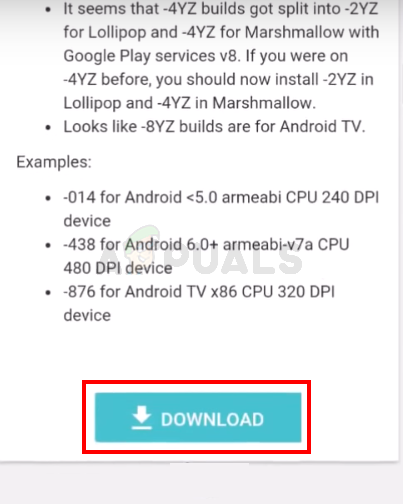
- Download the appropriate Google Play Service file (for your specific android version and phone). If you aren't certain which version is suitable for your device then follow the instructions given on the download page. At that place should be detailed instructions on the download folio.
- Once the file is downloaded and installed, go to Settings and select Accounts. Add your Google Account
You lot should exist able to add together your account and sign in without any problems.
Method iii: Update Host Files (Only for Rooted Phones)
Note: If yous don't know what a rooted phone is or if you aren't sure whether your telephone is rooted or not then skip this method. This is an advance technique.
- Go to Settings

- Select Security

- Toggle on Unknown Sources. This will allow yous install applications from unknown sources. Since apkmirror files are considered unknown sources, we need this choice enabled if nosotros take to install the downloaded apk from that website.
- Now, open Google (or whatever other browser from your telephone)
- Type apkmirror.com in the accost and printing Enter or go
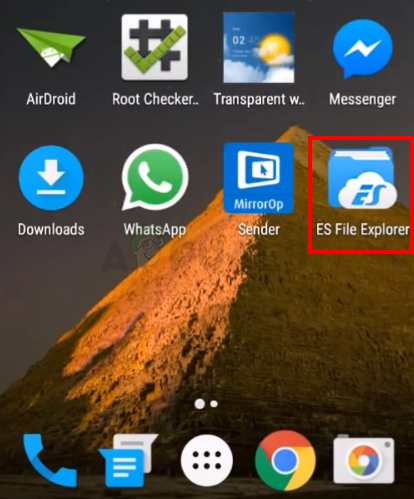
- Click the Search icon and type ES File Explorer
- Click the elevation consequence from the list of results. The pinnacle ones are the latest ones and you want the latest version of ES File Explorer
- Download the latest and appropriate version of the ES File Explorer and install it
- At present, open ES File Explorer
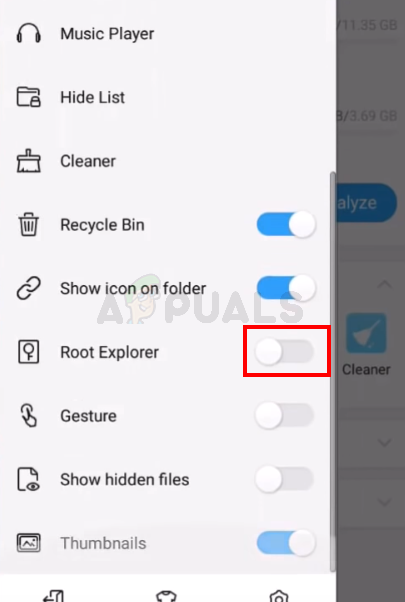
- Click the 3 confined from the top left corner

- Select Tools

- Toggle on Root Explorer. Click Let if the system asks you lot to confirm
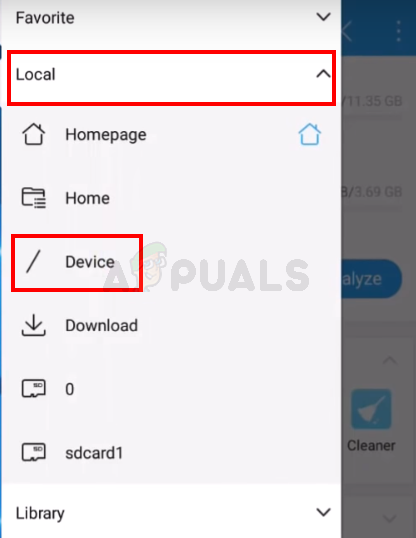
- Click Local
- Select Device. You should be able to see multiple folders on the right pane
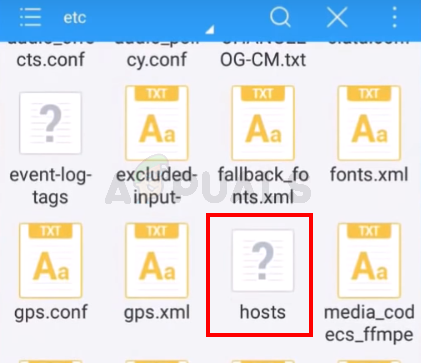
- Select Arrangement so open etc folder
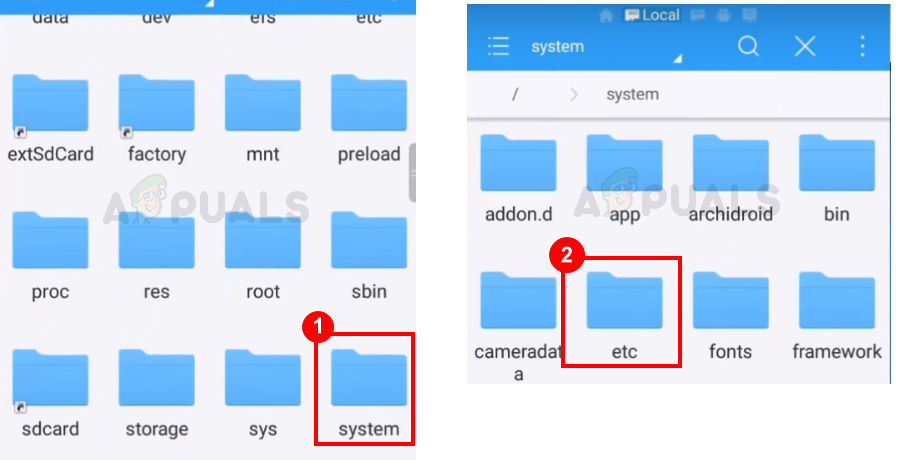
- Click Hosts file and select Text from the dialogue that asks how to open this file. You demand to open up this file every bit a text file. Select ES annotation editor when the prompt asks you lot to select the note editor
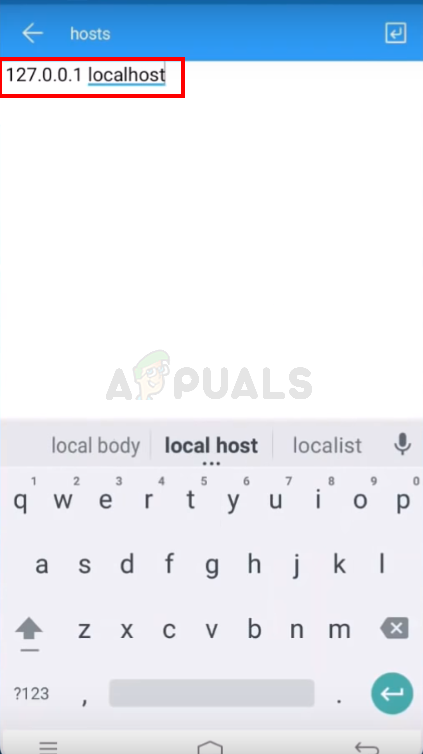
- Now, remove everything from the file and type 127.0.0.one localhost in the Hosts file
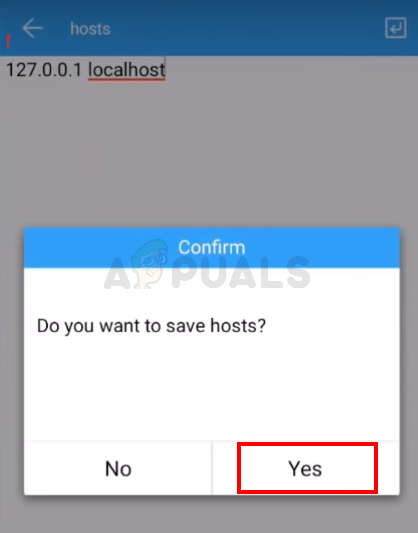
- Click the back push and brand certain the changes are saved. Y'all tin click the hosts file again and check its content just to be sure
- Go to Settings and select Accounts. Add together your Google Business relationship
You should be able to add the business relationship and sign in without any problems.
Workaround:
For some users, a uncomplicated workaround that tin can exist applied is mentioned equally follows.
- Connect your mobile phone to another network.
- Add the google account that you want to use.
- Switch back to your habitation network and the account should work fine.
![]()
Source: https://appuals.com/fix-there-was-a-problem-communicating-with-google-servers/
0 Response to "Filestream There Was a Problem Signing in Please Try Again Later"
Post a Comment